How to make stunning lamps without spending a fortune
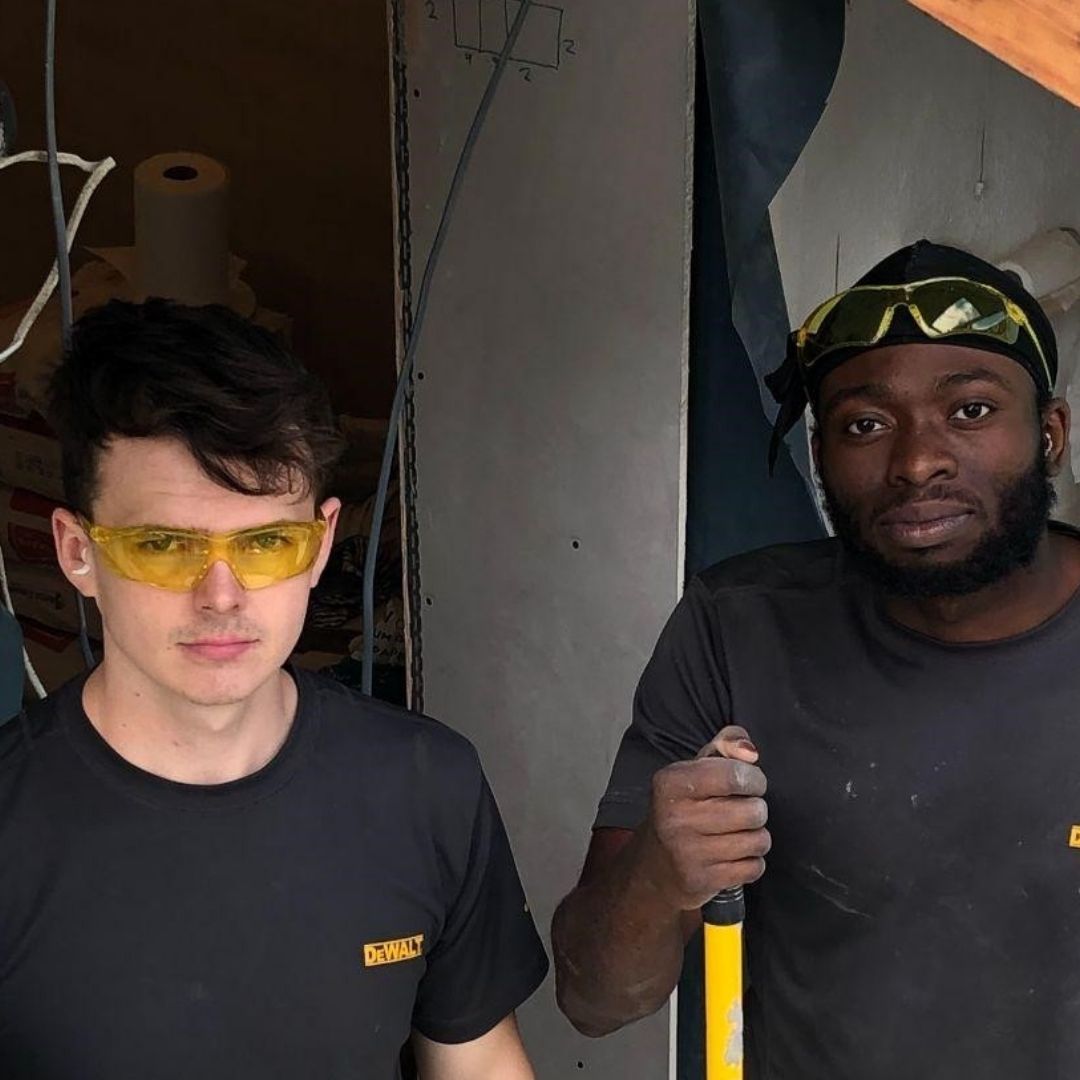
We set the much-loved Cullen and Olamide from @bricks.and.disorder Link opens in a new window a challenge to create designer looking lamps on a budget. Here’s how they did it and how you can too!
Published: October 2023

Designer lamps can get crazy expensive so we’re going to show you how to turn basic glassware into something that will make your friends go ‘oOooo, that’s fancy’. DISCLAIMER: this was our first-time cutting glass and we’re not experts so make sure you do your own research, pretty please.
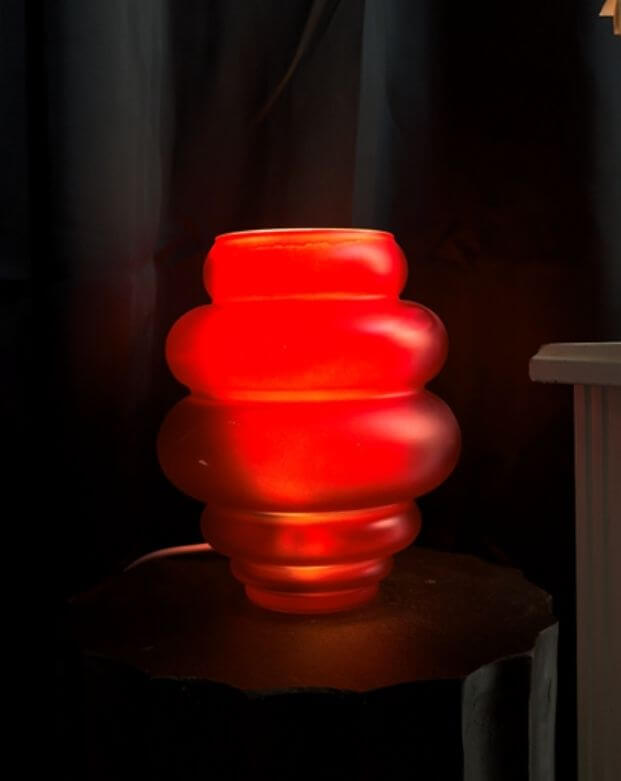
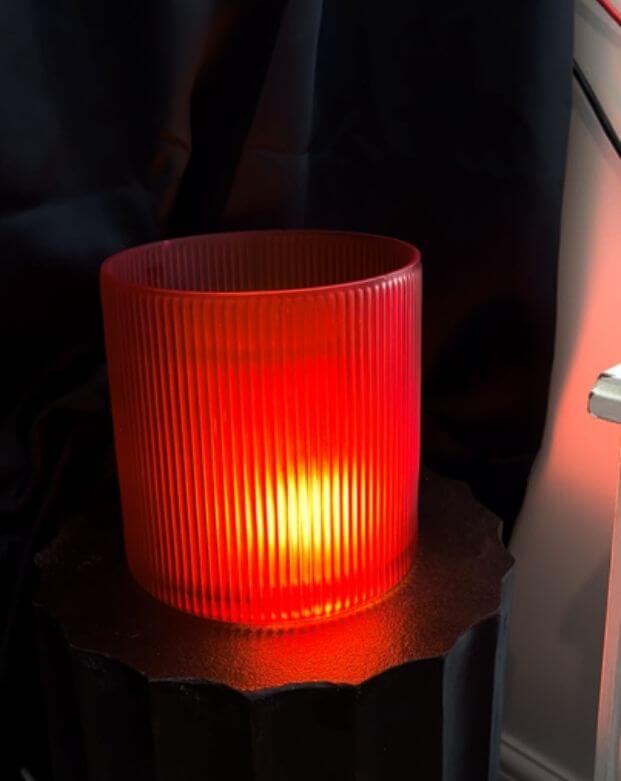
You can make a lamp out of anything but we really like the curvy shape and colour of this Link opens in a new window, this Link opens in a new window and this Link opens in a new window. It’s giving, rich uncle. It’s giving, EXPENSIVE. The problem is they’re all made out of glass! Glass is scary for DIYers like us, it’s delicate, sharp and unforgiving. But with the right tools we can work with glass safely.
Tools and materials:
- A drill
- PPE
- Glassware
- Diamond drill bits like these Link opens in a new window
- Lamp kit (easily recycled or can be bought for cheap)
- Glass spray paint
Step 1 - find a vessel
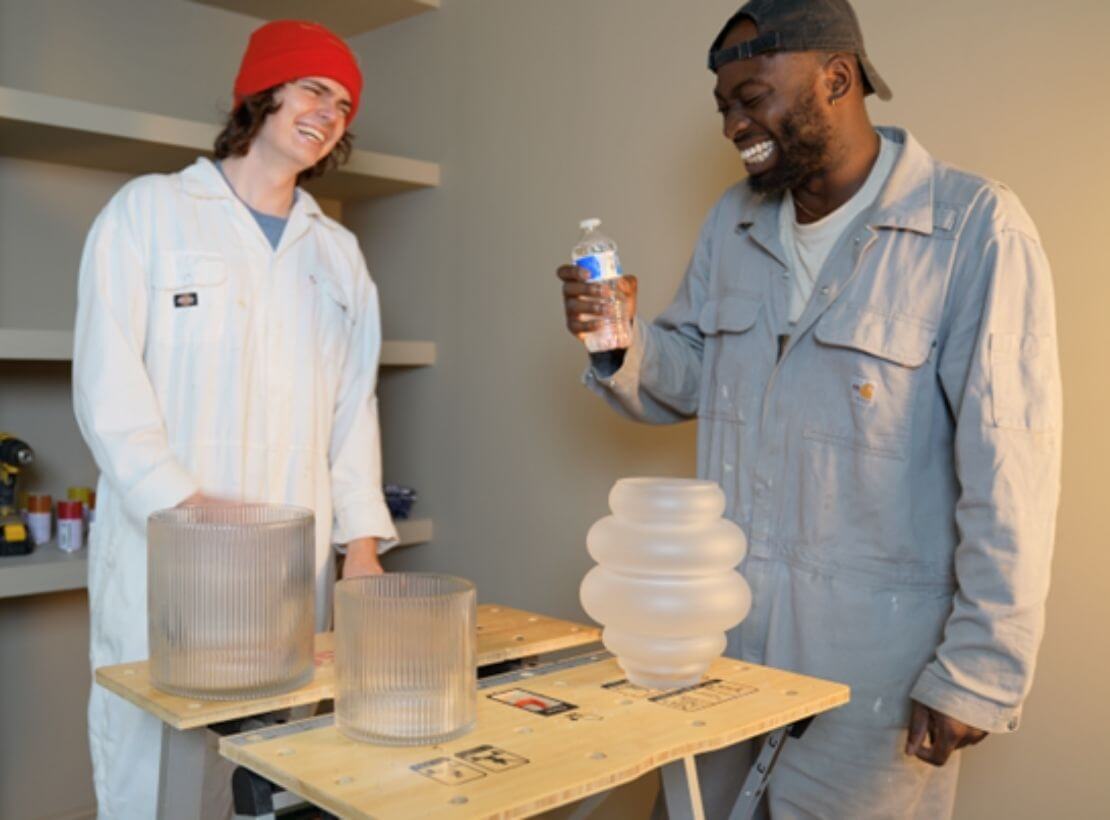
Vases and glassware come in all shapes and sizes and are considerably cheaper than lamps if you look in the right places, or you could pay nothing if you upcycle some old glassware. We each spent £15; Olamide found this curvy croissant shape and Cullen went for a 2 in 1!
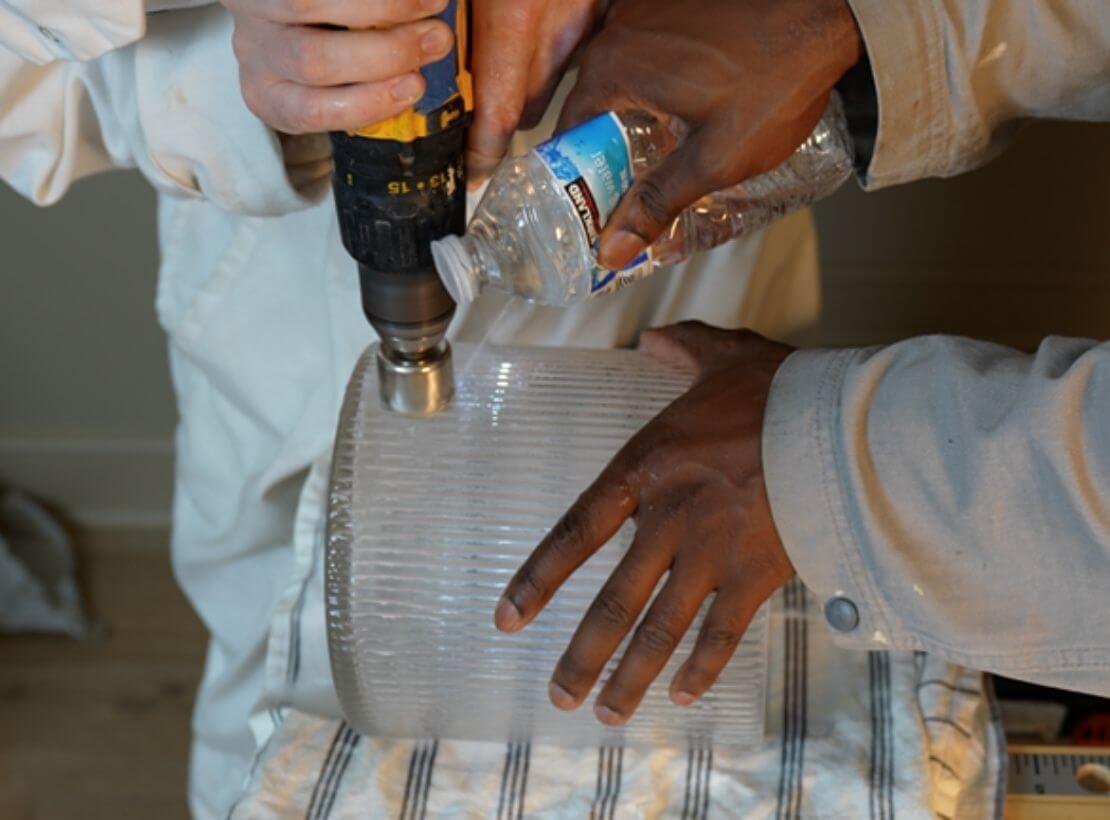
Step 2 - cutting the glass
Don’t panic, prepare! Put on all the safety equipment and load up your diamond drill bit.
Too much friction and vibration is the enemy, it could chip the glass and that would suck...But everything will work out with the help of some water.
Poke a hole in a bottle of water, this will create a tiny waterfall. Use this luscious stream to flow onto the drill bit as it cuts the glass. It's really important to have a constant flow so the cut goes smoooothly. While doing this we got water everywhere, so we’d recommend putting down a towel or a bucket to collect the excess. We took it slow and after 60 seconds we had a perfect hole! Yesssss.
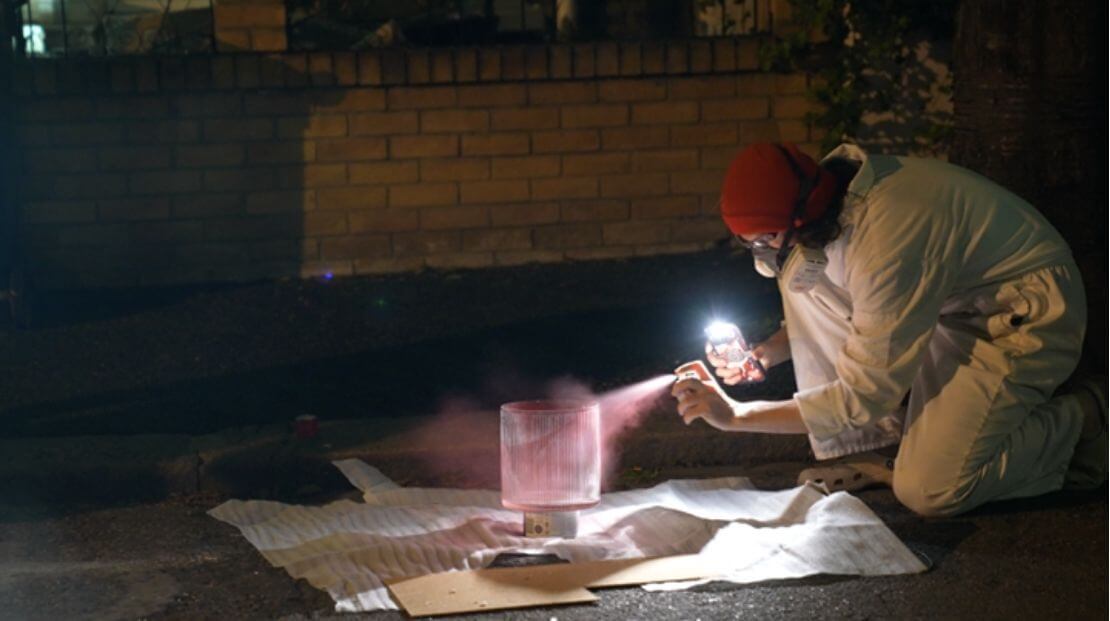
Step 3 - be careful
Most of the glass will have turned to sand but a few sharp shards could scatter so clean up thoroughly while wearing PPE or your vase could put a hole in you too. Then sand the whole thing with a fine grit sandpaper, this will make it easy for the paint to stick but more importantly get rid of the sharp edge from the cut.

Step 4 - colour
Now it’s time to spray paint, make sure you do it in a well-ventilated area. We chose to do it outside with the foxes at 3am. Keep the coats even and don’t touch it for a while. We also saw this alternative way to colour glass Link opens in a new window so we might give this a go next time.
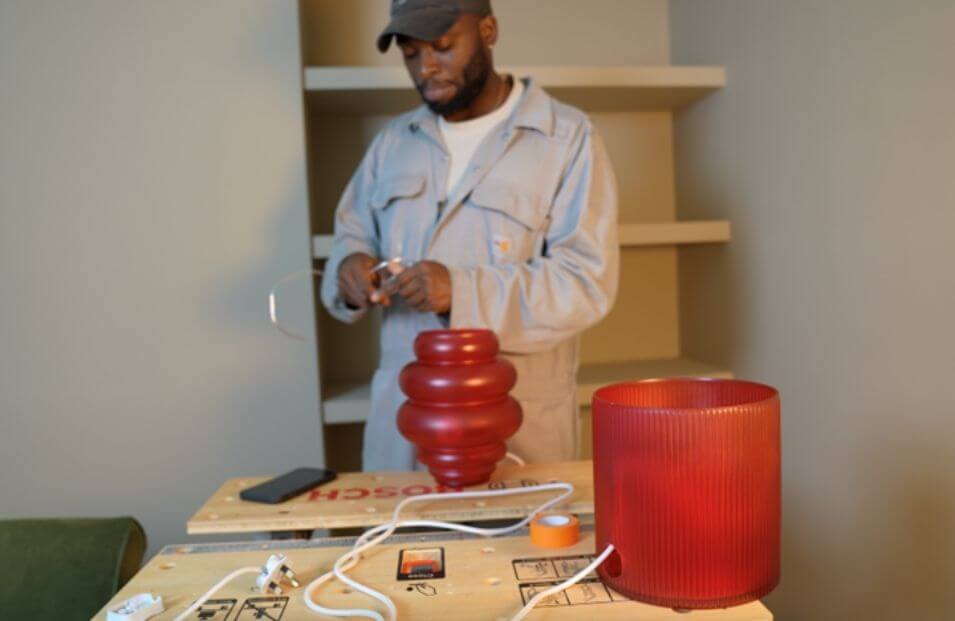
Step 5 - assemble
Now all you have to do is cable it up and put a low energy LED bulb in it! You can save even more by recycling the lamp kit from an old light, just make sure it meets all the necessary safety requirements etc.
What did we learn?
Painting in the dark made for a less than even coat and we need less powerful bulbs so the light spreads evenly but for a first go at under £40, for both lamps, we’re very proud of them.
All in all, it’s pretty easy to cut the holes and we can’t wait to try a whole range of combos and colours! We definitely recommend giving this a try but we’re just going to say it one more time, WE’RE NOT EXPERTS, do your due diligence, make some fancy lamps and save some money!